Basic tutorial: turning a sprinkler valve on and off with the Rascal
We grow tomatoes in pots in our backyard in the summer. A couple of years ago, I built a basic irrigation system using a crappy battery-powered sprinkler controller. For the next iteration, I want to be able to turn the sprinkler on and off through the internet, using the Rascal. Eventually, I'd like to add a moisture sensor as well, but to keep this tutorial simple, I'll just cover turning the sprinkler valve on and off for now. Also, I'm going to skip the irrigation plumbing.
Figuring out the electrical setup
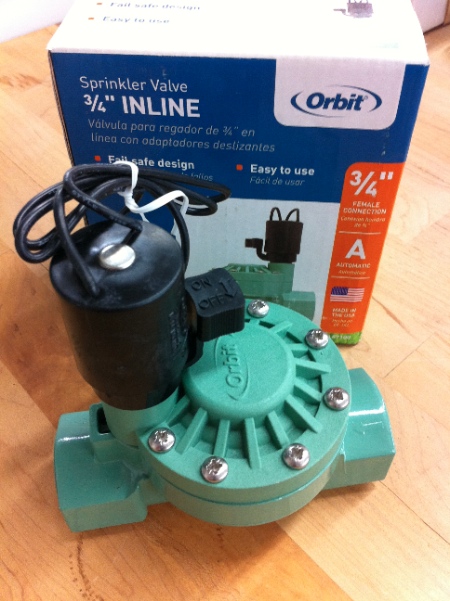
I don't know much about sprinkler valves, but I figure they're pretty well commodified by now, so I started at Amazon.com. After looking at a few, it looks like most run off 24 V AC transformers. This is slightly weird in the electronics world-- most low power stuff runs off DC, rather than AC, but AC supplies are cheaper and will do the job needed of triggering a valve, so that's what sprinklers use. A little more hunting on Amazon yields a 24 V AC power supply. I chose this sprinkler valve because it is cheap, but looked sturdy. The transformer also won on cheapness. The transformer is rated for 40 VA, but the sprinkler valve doesn't appear to have any public electrical specifications more precise than "low-voltage solenoid," so I took a small risk that this wouldn't work. (Fortunately, they do work correctly together.)
With the valve and power supply sorted out, I just have to figure out how to connect and disconnect the two using a relay controlled by a digital pin on the Rascal.
Adding a relay to the circuit
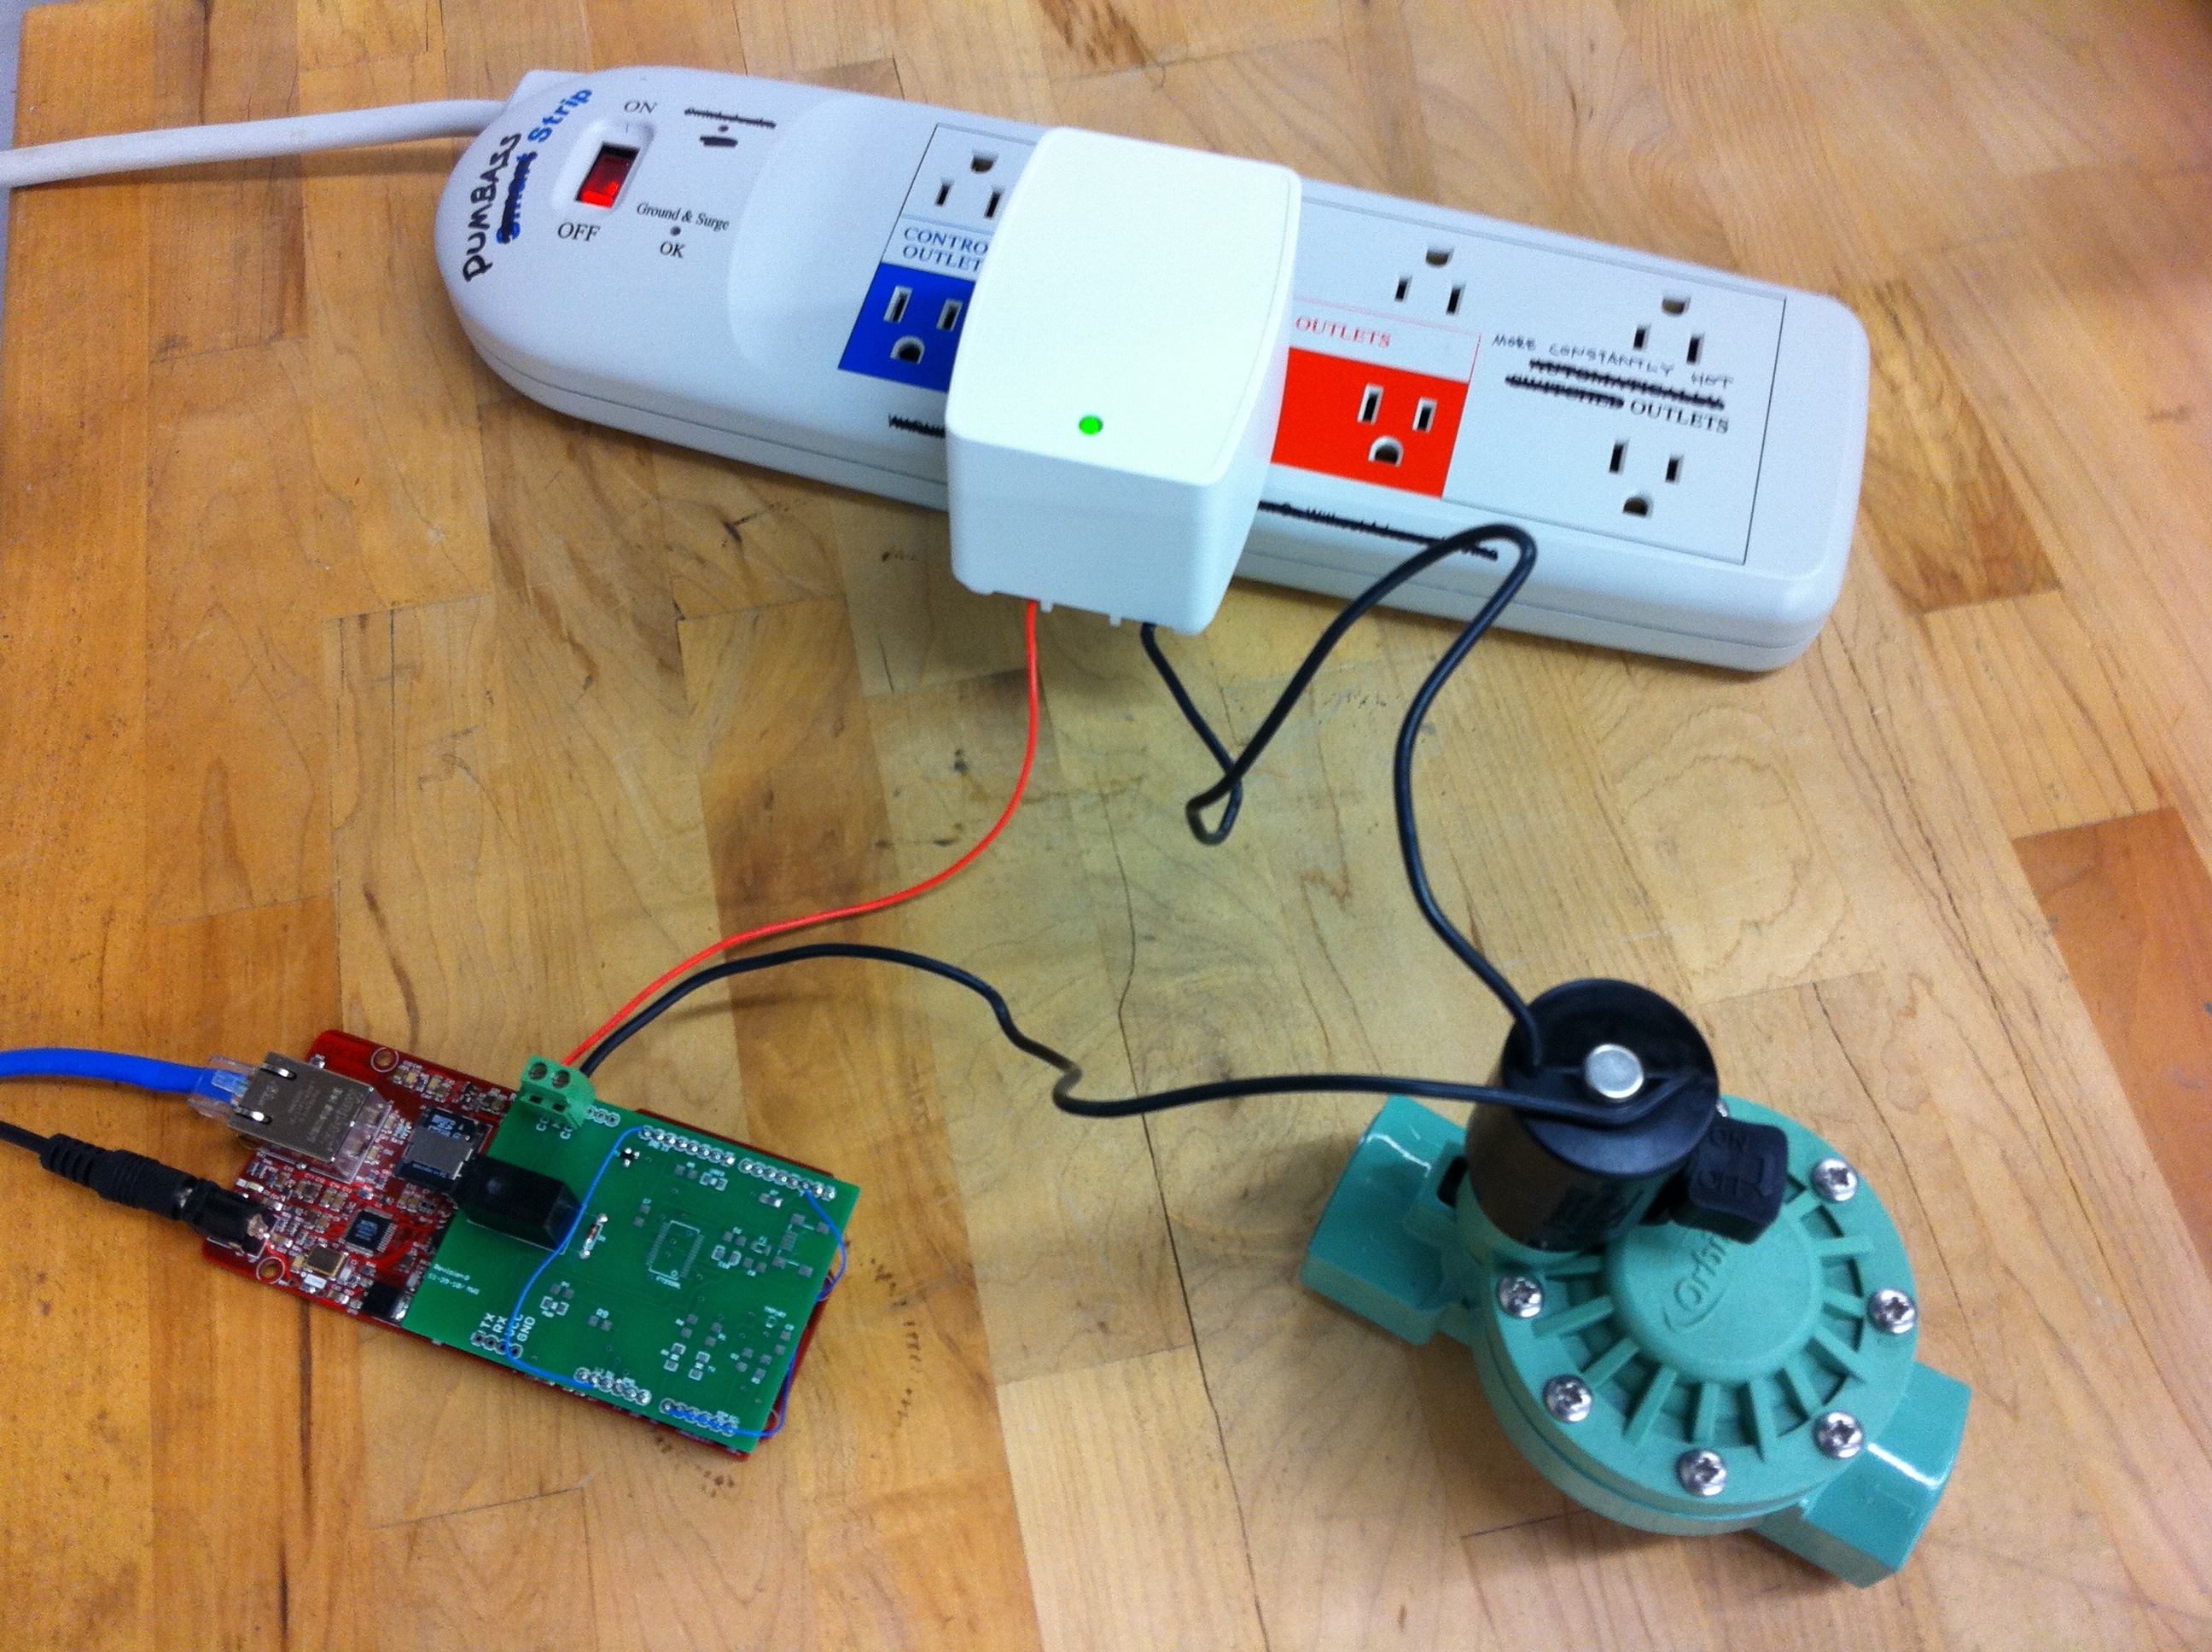
I'm using a partially assembled Rascal Developers' Shield designed by my friend Mike, but I believe this would work with any Arduino relay shield that can handle 3.3 V inputs. You could also use a relay kit like the one used in Sparkfun's controllable power outlet tutorial
But I don't have one of those right now, so here's what my circuit looks like.
Software control of the relay, and thereby the valve
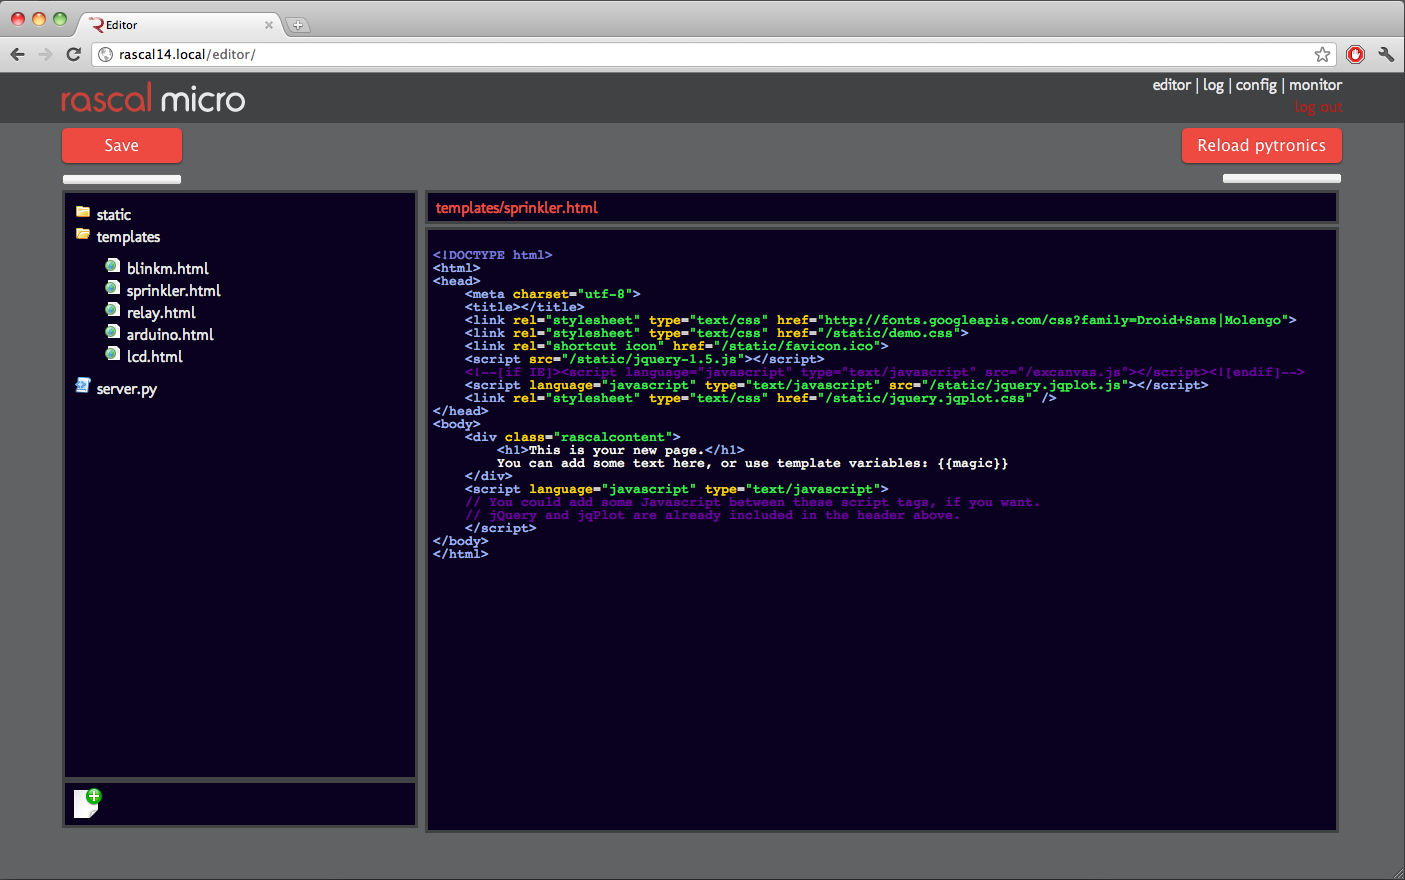
Now that I have the valve connected to the Rascal via the shield, I'll create a new template in the code editor called sprinkler.html. Here's what that looks like, before I customize the code.
I'll add this code to the page, which will create two buttons, one labeled "ON" and one labeled "OFF".
<input id="sprinkler-on" type="button" value="ON" class="large red awesome" alt="ON">
<input id="sprinkler-off" type="button" value="OFF" class="large red awesome" alt="OFF">
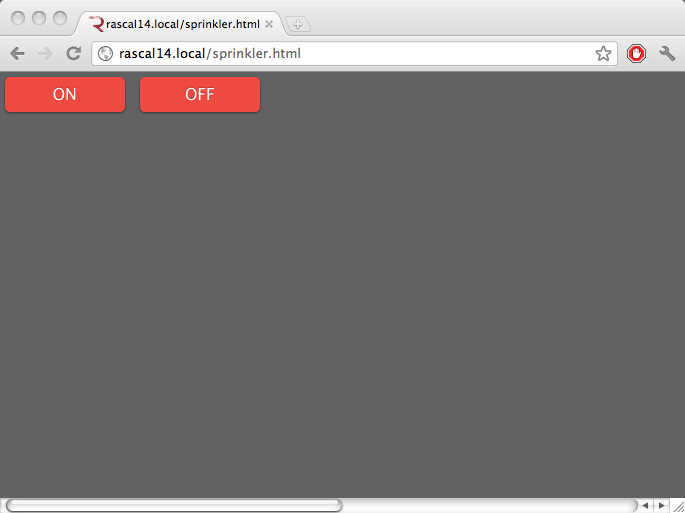
Here's what the page looks like. The class="large red awesome" uses CSS classes to style the buttons like the Zurb "Awesome Buttons". If you wanted, you could tweak the CSS in static/demo.css to change the color or size of the buttons.
Next, I'll add two Javascript functions that will use jQuery to send requests to the Rascal when the buttons are clicked. The two functions are identical, except for the "on" and "off" parts. There are three interesting parts of the function.
$("#sprinkler-on").click(tells your browser to listen for clicks on the page element with the id "sprinkler-on".- The second line of the function, which is the code that gets executed when the listened-for click is received.
$.postmakes your browser send a POST request to the path/sprinkleron the Rascal. command: "ON"stuffs a field, called "command" and containing "ON", into the POST request sent to the Rascal.
Here is the Javascript code, which I'll add in place of the purple comments near the bottom of sprinkler.html.
$("#sprinkler-on").click( function() {
    $.post("/sprinkler", { command: "ON" });
});
$("#sprinkler-off").click( function() {
    $.post("/sprinkler", { command: "OFF" });
});
Finally, I'll edit server.py in the Rascal editor, so that it knows how to respond to the requests triggered by the buttons. As with the Javascript, there are a few interesting parts to the Python code.
@public.route('/sprinkler', methods=['POST'])tells the Rascal to call the subsequent function whenever someone POSTs to the path/sprinkler.- The line
import pytronicsloads the Python library used to control the Rascal hardware. You can read more about various functions in the Pytronics library in the programming reference. command = request.form['command']grabs the data we sent in the POST request (either "ON" or "OFF") out of the request and stores it incommand.- We use an if-else statement to decide how to respond.
pytronics.set_pin_high(2)calls a function to change the voltage on one of the Rascal's pins. The2tells the Rascal to use pin 2. The pins are listed on the Rascal pinout diagram.
Here is the Python code.
@public.route('/sprinkler', methods=['POST'])
def sprinkler():
    import pytronics
    command = request.form['command']
    if(command == "ON"):
        pytronics.digitalWrite('2', 'HIGH')
    else:
        pytronics.digitalWrite('2', 'LOW')
    return ('Sprinkler toggled')
After the saving the Python code in server.py, I click the "Reload pytronics" button in the editor. This makes the Rascal restart the Python server with the new code in place. (If you don't do this, the Rascal will keep running the old code.)
Here's the page I ended up with:
<html>
<head>
    <meta charset="utf-8">
    <title></title>
    <link rel="stylesheet" type="text/css" href="http://fonts.googleapis.com/css?family=Droid+Sans|Molengo">
    <link rel="stylesheet" type="text/css" href="/static/demo.css">
    <link rel="shortcut icon" href="/static/favicon.ico">
    <script src="/static/jquery-1.5.js"></script>
    <!--[if IE]><script type="text/javascript" src="/excanvas.js"></script><![endif]-->
    <script type="text/javascript" src="/static/jquery.jqplot.js"></script>
    <link rel="stylesheet" type="text/css" href="/static/jquery.jqplot.css" />
</head>
<body>
    <div class="rascalcontent">
        <input id="sprinkler-on" type="button" value="ON" class="large red awesome" alt="ON">
        <input id="sprinkler-off" type="button" value="OFF" class="large red awesome" alt="OFF">
    </div>
    <script type="text/javascript">
    $("#sprinkler-on").click( function() {
        $.post("/sprinkler", { command: "ON" });
    });
    $("#sprinkler-off").click( function() {
        $.post("/sprinkler", { command: "OFF" });
    });
    </script>
</body>
</html>